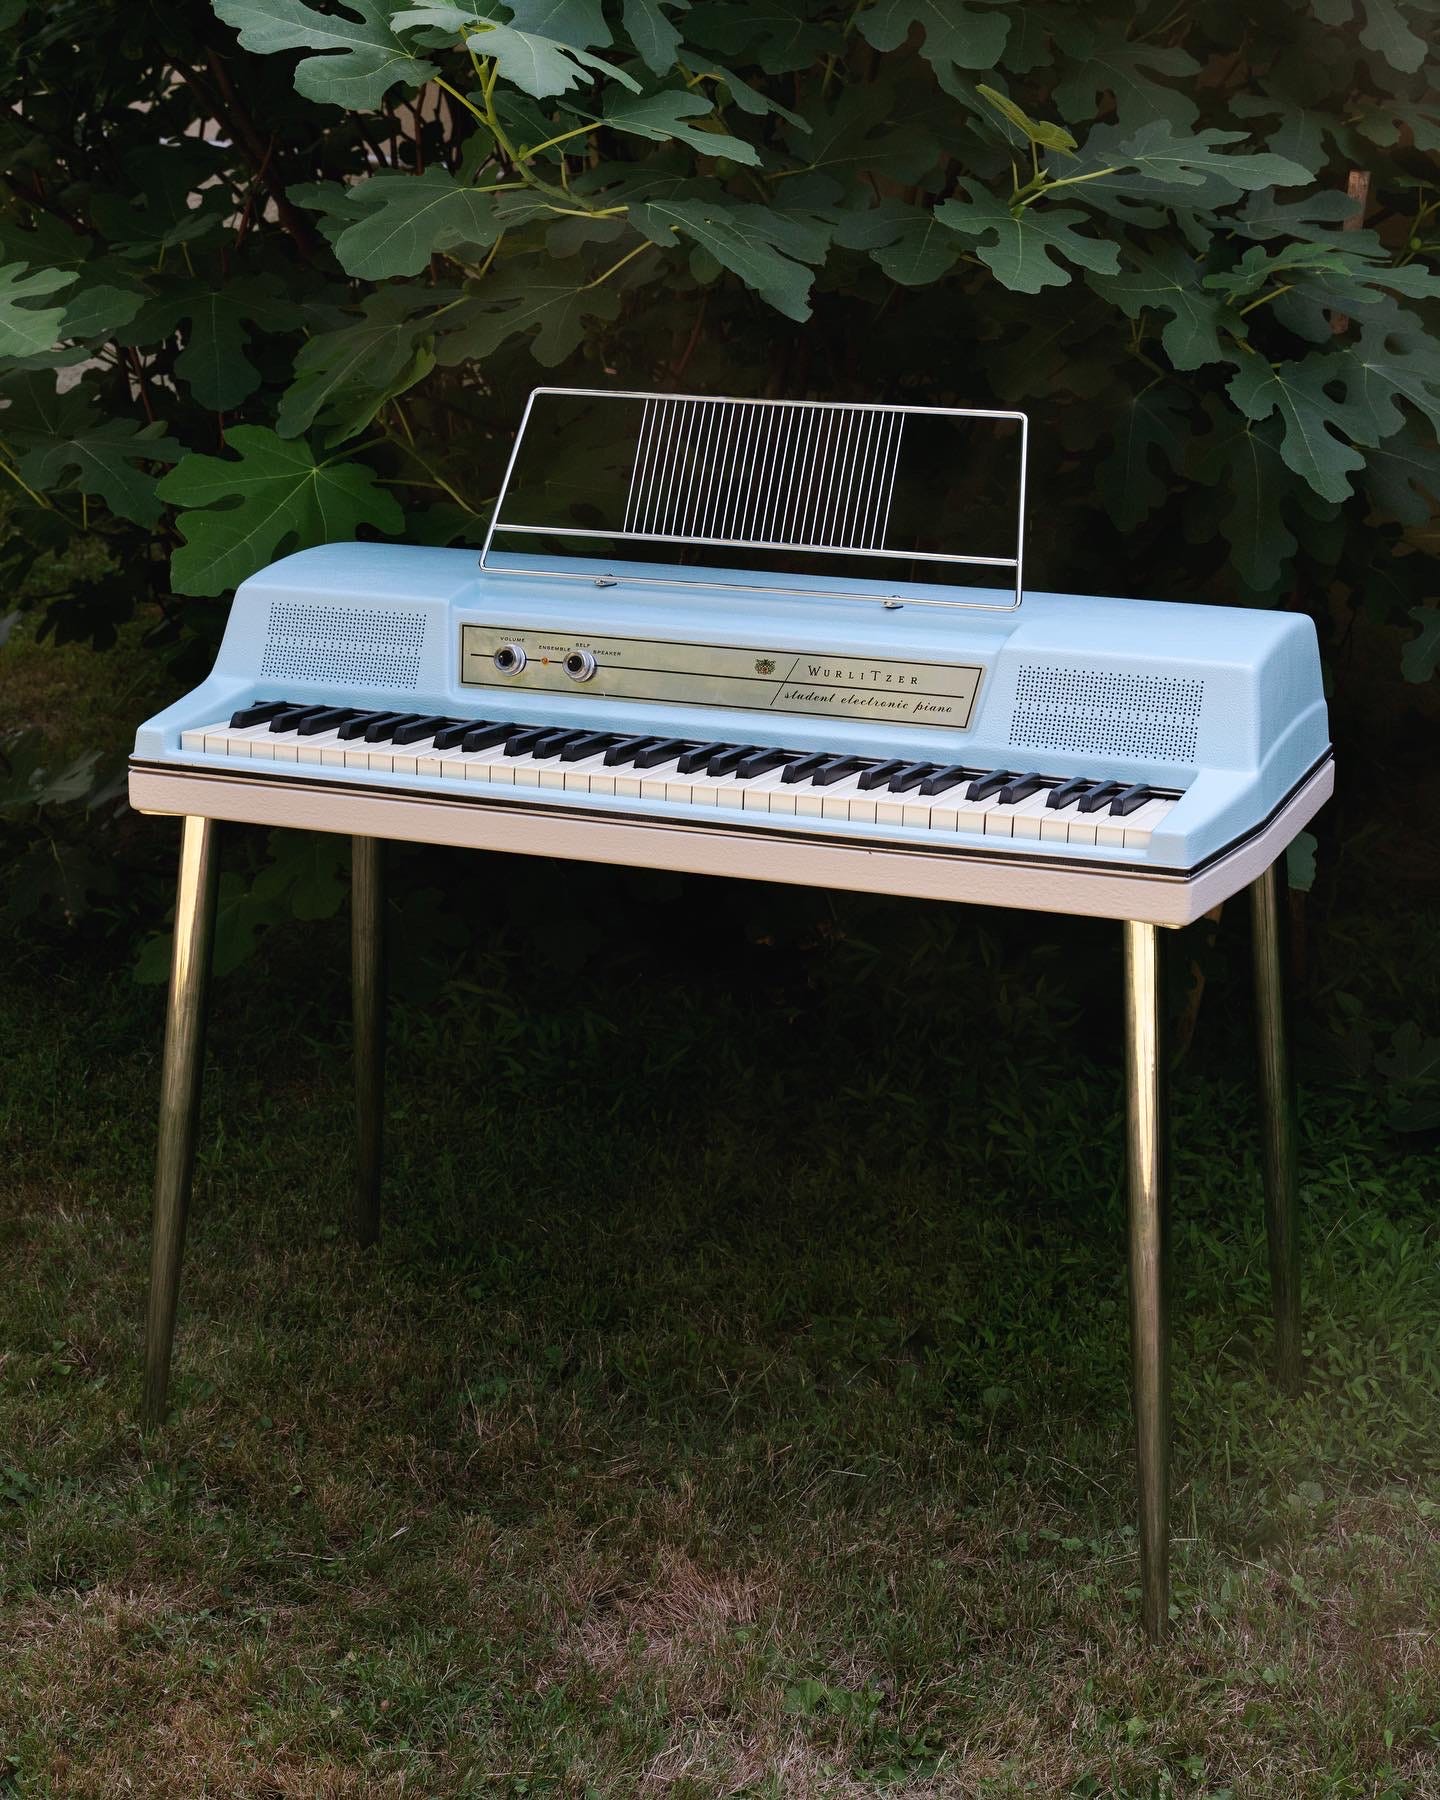
Brightening yellow Wurlitzer keys
Four ways to make faded, yellow keys look a lot better
Every time I write about refinishing Wurlitzers, I repeat the same warning: Make sure the color that you choose matches the color of your keys. Light colors really bring out the yellow tones in faded keytops. If your Wurlitzer is in mint condition, and your keytops are still the original color, you’re completely free to choose light tones, such as lavender, mint green, peach, or pale lemon. (White is difficult for any Wurlitzer to pull off, because even keytops in excellent condition are not pure white, but are instead a light ivory color.)
Well, I did not take my own advice. A few months ago, I wanted to paint this Wurlitzer light blue, so I gathered up all of the blue paint chips I could find……………and I swatched them against a metal 200a leg. (I wanted to choose a blue whose undertones complement Wurlitzer hardware.) Indeed, the finished lid looked great against the silver legs. Unfortunately, I neglected to compare the paint chips to the keys. Before I painted the lid, it didn’t even occur to me that the keys were yellow. They looked like they were in okay shape! But now, juxtaposed against the baby blue lid, they were so yellow that they almost seemed to fluoresce.

I was so upset by this that I considered painting the lid a different color. But, because I had taken it to a body shop this time, I was out somewhat more money than just the cost of spray cans. Plus, the shop did a great job, and I loved the look of the lid. So, I decided that I would have to address the color of the keys instead. Once and for all, I would determine the definitive way to make Wurlitzer keytops white once again. This is the story of the methods that I tried.
PROLOGUE: REPLACING THE KEYTOPS
A really obvious way to whiten keytops is to replace them with new keytops. However, this was not an option for me. I had replaced a set of keytops on a different Wurlitzer, and it was easily the most miserable DIY I had ever done. I vowed I’d never do it again.
A few years before, in a severe lapse of judgement, I painted a Wurlitzer 140b white. I wanted it to look lacquered and modern, like a Saarinen tulip table, or at least a Billy bookshelf. I thought that a flawless bright white color would contrast nicely against the brassy patina of the hardware. It would look new and old at the same time—a pleasant visual dissonance. I applied approximately thirty million thin layers of clear topcoat, so I could sand out all the orange peel and achieve a mirror-like finish. It looked exactly the way I imagined it would: luminous, otherworldly. It was beautiful.
And then I put the keys in. Cue the violins from Psycho.
The keys weren’t even bad!! They were way up on the bright end of the Wurlitzer key spectrum. But, in painting the case IKEA white, I had created a standard that no vintage plastic could ever meet. The white I needed was fine-toothed cardstock white, acrylic panel white, the white that your screen fades to when the movie character is hit in the head really hard and has a vision of God. But my keys were 50-years-of-seasonal-UV-sunshine-and-light-chain-smoking-white.
Like—what was I thinking? Piano keys aren’t even supposed to be white. It’s called “tickling the ivories.” Ivory is yellow!!!! My Wurlitzer keys were simply the color that nature and Bartolomeo Cristofori intended. I was the one with the problem.
And it was a serious problem. To give this Wurlitzer the keys it needed, I would have to replace the keytops. It is possible to obtain new keytops. But they’re sized for new keyboards—not vintage Wurlitzers.
Wurlitzer keys are just slightly shorter than conventional piano keys. This means that the keytops have to be cut down to size. Of course, you can’t just lop off the end of the keytop and call it a day. You have to cut off the inside corner of the keytop, the part that fits against the sharp keys. This cut is extremely visible, and has to be done with a high degree of precision.
Jon and I spent a week replacing the keytops. Jon’s job was to remove the excess plastic overhang with a large, coarse file. Then, I used a smaller metal file to sand it smooth. It was very important not to over-file, and it was important to preserve the precise right angles in the key. This meant working very slowly, in a hot mask, on a very tedious, repetitive task. When we finished, it looked great—and we promised ourselves that we would never do it again!
(Of course, we’re about to break that promise. We have an extremely hideous set of keys in the shop right now. Once, it was a spare set of normal-looking keys, but we’ve been swapping them with bad keys from keyboards we’ve restored over the years: broken keys, brown keys (how? I don’t know), keys with missing keytops. By this point, it’s pretty much all bad keys, and it’s almost time to convert it to a usable set again. I will let you know how it goes!)


